Hey guys!
For this post, I am excited to announce that I have been learning particles in Unreal Engine 4. And i have to say I have learned alot and enjoyed learning particle this far. When i first started learning them, I thought they would be complicated, but the statement prooved to be false and was surperised how easy it was to understand them and apply them.
After practicing through the tutorials I have learned all the different types of particles, such as, emitter particle effects, HUD emitter particle effects, Mesh particles, Ribbon particles, animation curve particles.
Anyway, continuing the current assignment, i had to do some research on what kind of a particle do I need to work on and how I can apply that to my other collaborative project of the racing level. And the answer to that was kinda obvious. since i wanted to have a sand storm in my level, I decided to peruse the sand storm effect. I looked at few real life references and few game ones. They are as follows:


At the first glance, you can see the material they used. So then we search for the material by clicking on the detective glass (I know its magnifying glass, but detective glass sounds cooler). So once you find the material in the content browser you can see how they made the material..

As you can see most of the nodes are repeating and the nodes that are widely used are scalar parameter, texture coordinate and math nodes. I followed their path to the nose.and found the similar material.
HINT: 1.1 For the gradient and the textures seen, you have to create you own, Please do not copy theirs. I had to create my own and it took me less then 15 mins to make mine.
1.2 The textures of the messed up lines you see here are to be made in Photoshop. Ot is of utmost importance to note the size of the texture and how its looks as this will be only thing that differentiates between your sand particles vs theirs.
1.3 once you are done you might not be able too see anything in your view port but its there, trust me. I freaked out too. but later i realized how that since the background in view port is gray and your blacks end up transparent. so just adjust the view port a bit.
1.4 Make sure your material is checked of double sided in your details in materiel editor for 2 sided effect.
After creating this material, we create a new Particle system, our first step is to change the material
 After changing the material. Refer back to the the particle system made by Epic and systematically look through each and every component in the cascade. Make sure that you have everything filled in a similar fashion as they have. Once you are done with all the steps place the Particle system in your environment and scale it Up.
Note: Changing the Lock axis helps direct your how your sand is seen to the camera.and saves you from making too many multiple copies, You can also change the spawn numbers o that you don't have to make too many copies and will not reduce your frame rate while playing the game.
For this post, I am excited to announce that I have been learning particles in Unreal Engine 4. And i have to say I have learned alot and enjoyed learning particle this far. When i first started learning them, I thought they would be complicated, but the statement prooved to be false and was surperised how easy it was to understand them and apply them.
After practicing through the tutorials I have learned all the different types of particles, such as, emitter particle effects, HUD emitter particle effects, Mesh particles, Ribbon particles, animation curve particles.
Anyway, continuing the current assignment, i had to do some research on what kind of a particle do I need to work on and how I can apply that to my other collaborative project of the racing level. And the answer to that was kinda obvious. since i wanted to have a sand storm in my level, I decided to peruse the sand storm effect. I looked at few real life references and few game ones. They are as follows:

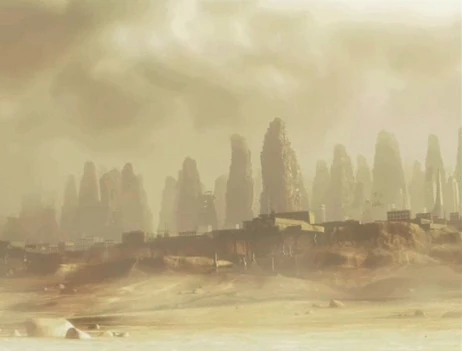
So anyways looking at these references, I decided to explore how to create a sand storm. Unfortunatlym i was unable to find aany useful information on how to create a sand storm. Therefore i decide to turn and see how EPIC had created their bowing sand. When you think about it... sand storm is logically a large cluster of sand particles being blown by fast winds.. Since their current example map consist of blowing sand I had decided to see how they made their blowing sand and what textures they had used and what numbers had they placed with the particle effect.
So the first thing I opened up in the UE4 was Cascade :
As you can see most of the nodes are repeating and the nodes that are widely used are scalar parameter, texture coordinate and math nodes. I followed their path to the nose.and found the similar material.
HINT: 1.1 For the gradient and the textures seen, you have to create you own, Please do not copy theirs. I had to create my own and it took me less then 15 mins to make mine.
1.2 The textures of the messed up lines you see here are to be made in Photoshop. Ot is of utmost importance to note the size of the texture and how its looks as this will be only thing that differentiates between your sand particles vs theirs.
1.3 once you are done you might not be able too see anything in your view port but its there, trust me. I freaked out too. but later i realized how that since the background in view port is gray and your blacks end up transparent. so just adjust the view port a bit.
1.4 Make sure your material is checked of double sided in your details in materiel editor for 2 sided effect.
After creating this material, we create a new Particle system, our first step is to change the material
Note: Changing the Lock axis helps direct your how your sand is seen to the camera.and saves you from making too many multiple copies, You can also change the spawn numbers o that you don't have to make too many copies and will not reduce your frame rate while playing the game.
Comments
Post a Comment